Requirements
1. Download gen3-client
gen3-client to upload and download files to the gen3 platform. Since the CALYPR is built on gen3, gen3-client is used in calypr_admin for the same purpose. See the instructions below for how to download gen3-client for your operating system.
Installation Instructions
- Download the macOS version of the gen3-client.
- Run the gen3-client pkg, following the instructions in the installer.
- Open a terminal window.
- Create a new gen3 directory:
mkdir ~/.gen3 - Move the executable to the gen3 directory:
mv /Applications/gen3-client ~/.gen3/gen3-client - Change file permissions:
chown $USER ~/.bash_profile - Add the gen3 directory to your PATH environment variable:
echo 'export PATH=$PATH:~/.gen3' >> ~/.bash_profile - Refresh your PATH:
source ~/.bash_profile - Check that the program is downloaded: run
gen3-client
- Download the Linux version of the gen3-client.
- Unzip the archive.
- Open a terminal window.
- Create a new gen3 directory:
mkdir ~/.gen3 - Move the unzipped executable to the gen3 directory:
~/.gen3/gen3-client - Change file permissions:
chown $USER ~/.bash_profile - Add the gen3 directory to your PATH environment variable:
echo 'export PATH=$PATH:~/.gen3' >> ~/.bash_profile - Refresh your PATH:
source ~/.bash_profile - Check that the program is downloaded: run
gen3-client
- Download the Windows version of the gen3-client.
- Unzip the archive.
- Add the unzipped executable to a directory, for example:
C:\Program Files\gen3-client\gen3-client.exe - Open the Start Menu and type "edit environment variables".
- Open the option "Edit the system environment variables".
- In the "System Properties" window that opens up, on the "Advanced" tab, click on the "Environment Variables" button.
- In the box labeled "System Variables", find the "Path" variable and click "Edit".
- In the window that pops up, click "New".
- Type in the full directory path of the executable file, for example:
C:\Program Files\gen3-client - Click "Ok" on all the open windows and restart the command prompt if it is already open by entering cmd into the start menu and hitting enter.
2. Configure a gen3-client Profile with Credentials
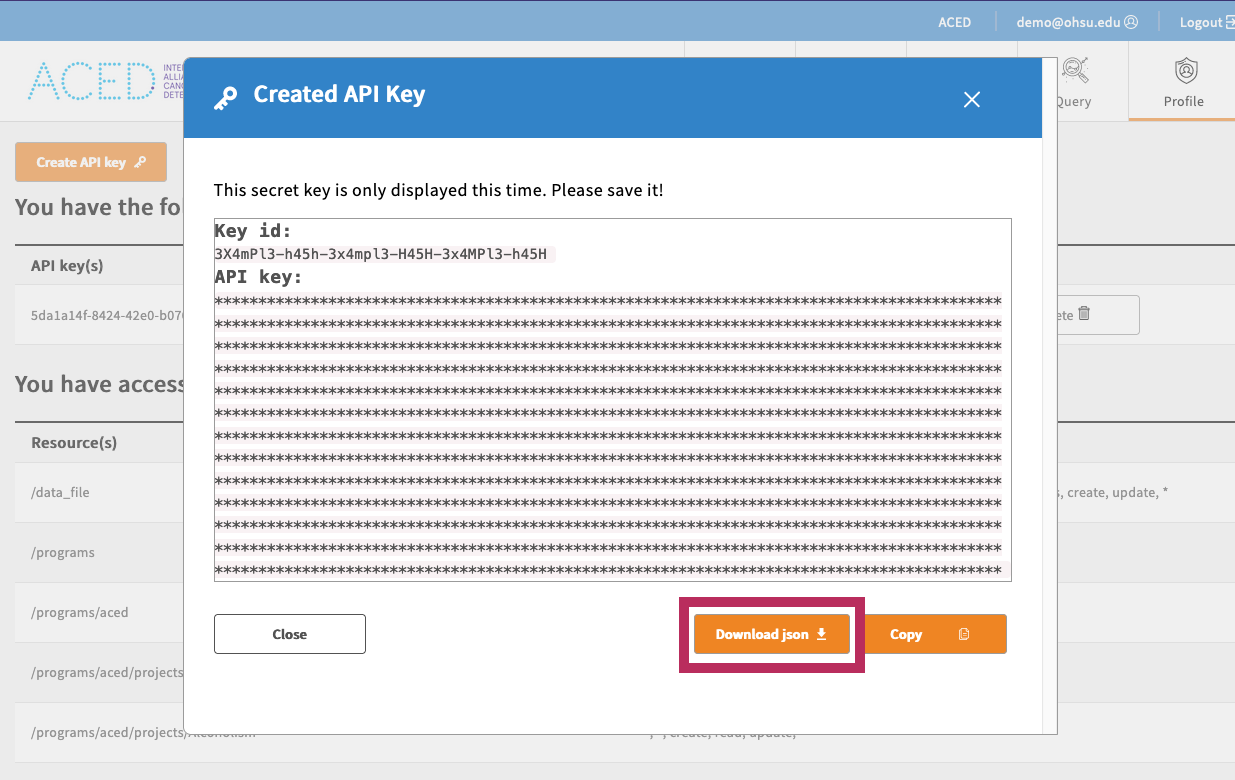
To use the gen3-client, you need to configure gen3-client with API credentials downloaded from the Profile page.
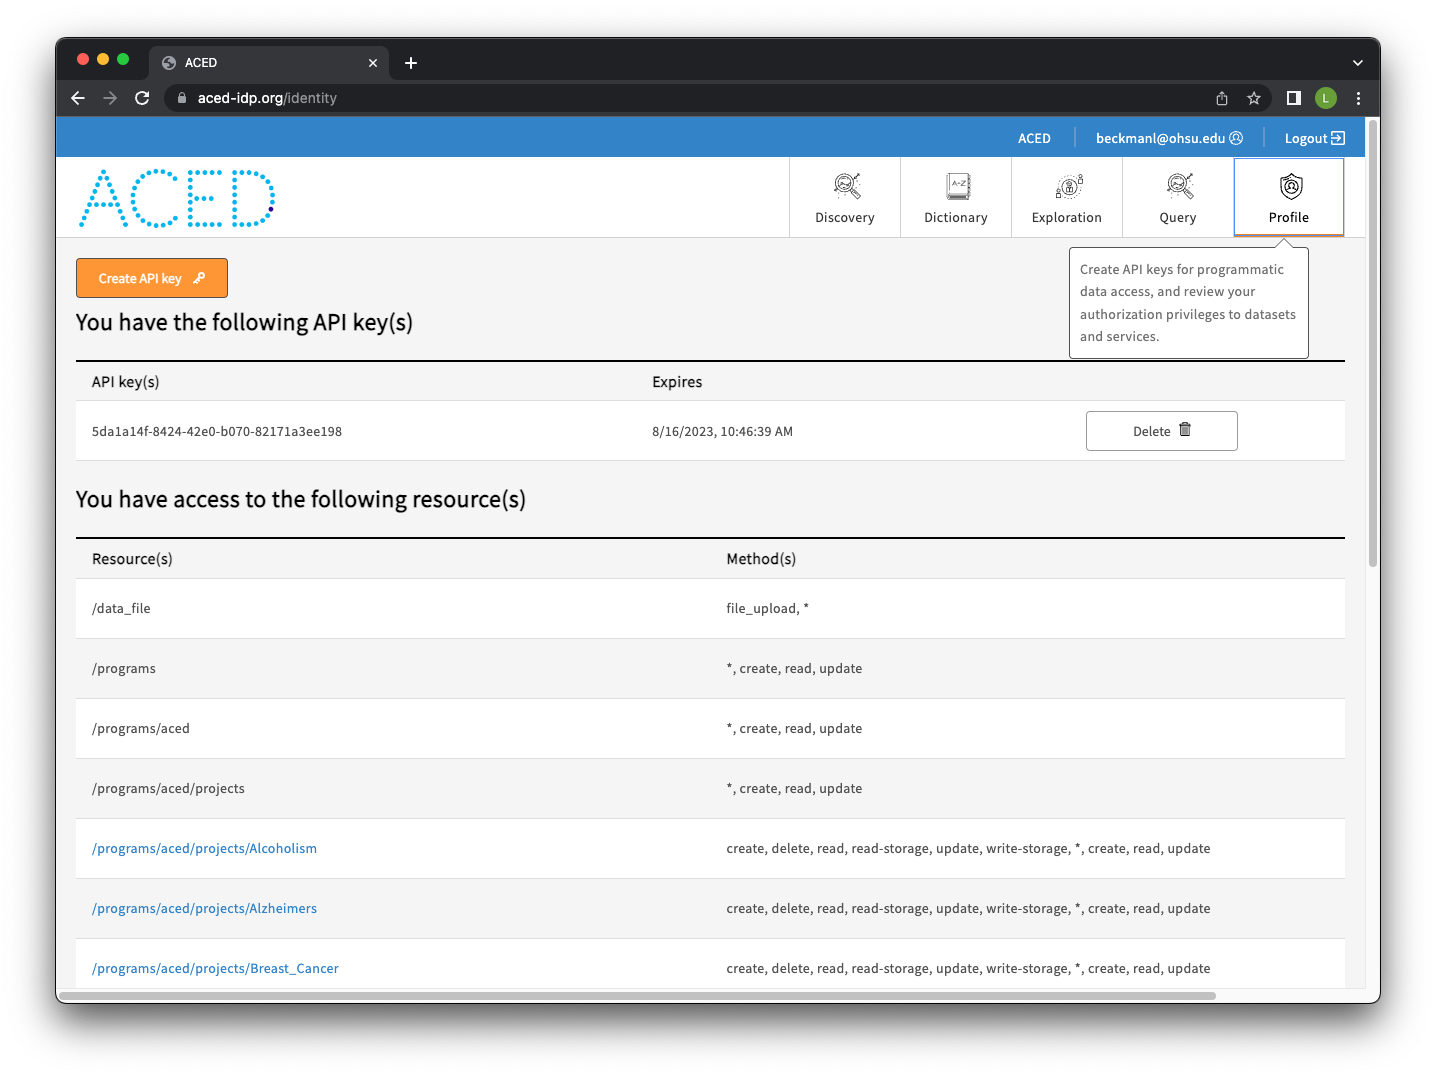
Log into the website. Then, download the access key from the portal and save it in the standard location ~/.gen3/credentials.json
From the command line, run the gen3-client configure command:
Run the gen3-client auth command to confirm you configured a profile with the correct authorization privileges. Then, to list your access privileges for each project in the commons you have access to:
gen3-client auth --profile=calypr

# 2023/12/05 15:07:12
# You have access to the following resource(s) at https://calypr.ohsu.edu.org:
# 2023/12/05 15:07:12 /programs/calypr/projects/myproject...
3. Install calypr_admin
The calypr_admin tool requires a working Python 3 installation no older than Python 3.12. Check your version with python3 --version. If needed, download a compatible version of Python 3.
Optionally, create a virtual environment using venv or conda for calypr_admin. We will use venv in the instructions.
Run the following in your working directory to install the latest version of calypr_admin from the Python Package Index:
You can verify the installation was successful by then running the calypr_admin command with the expected output being the latest version:
Upgrading calypr_admin
This version should match the latest version on the PyPi page. If it is out of date, run the following to upgrade your local version:
Configuration
calypr_admin uses the gen3-client configuration flow.
After configuration, you can either specify the --profile or set the CALYPR_PROFILE=profile-name environmental variable.
Testing the configuration
The command calypr_admin ping will confirm that the access key and gen3-client have been configured correctly
A successful ping will output something like:
msg: 'Configuration OK: Connected using profile:calypr'
endpoint: https://calypr.ohsu.edu.org
username: someone@example.com
bucket_programs:
...
your_access:
...
With calypr_admin completely set up, see the Quickstart Guide for how to upload and download data to a project.